Blog

Learn handy-tips every homeowner needs to know

How to Fix Chunky Paint

Have you ever had to paint a room in your house and it ended up being a total disaster? You’re probably wondering how to fix chunky paint, but don’t worry we’re here to help! In this blog post, we’ll show you how to fix chunky paint and make your room look fresh and new.

Have you ever had to paint a room in your house and it ended up being a total disaster? You’re probably wondering how to fix chunky paint, but don’t worry we’re here to help! In this blog post, we’ll show you how to fix chunky paint and make your room look fresh and new.

What Causes Chunky Paint?

There are a few reasons why paint can become chunky.

  • One reason is that the paint is old and has started to separate.
  • Another reason is that the paint was not mixed properly, to begin with.
  • Finally, if the paint is exposed to extreme temperatures, it can also become chunky.

3 Tested Methods for Fixing Chunky Paint

Here are three tested methods for fixing chunky:

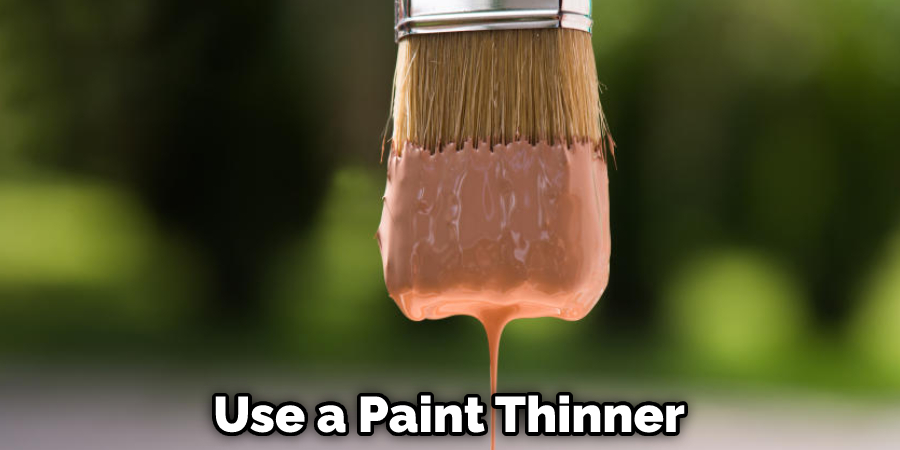
Paint Thinner Methods

  1. You can fix chunky paint by using a paint thinner.
  2. Add 1 or 2 pints of paint thinner to your oil-based enamel paint.
  3. Stir the paint until it is smooth and free of lumps.
  4. Look for small lumps or clumps in the paint. If you find any, use your stirrer to break up the lumps and get rid of them.
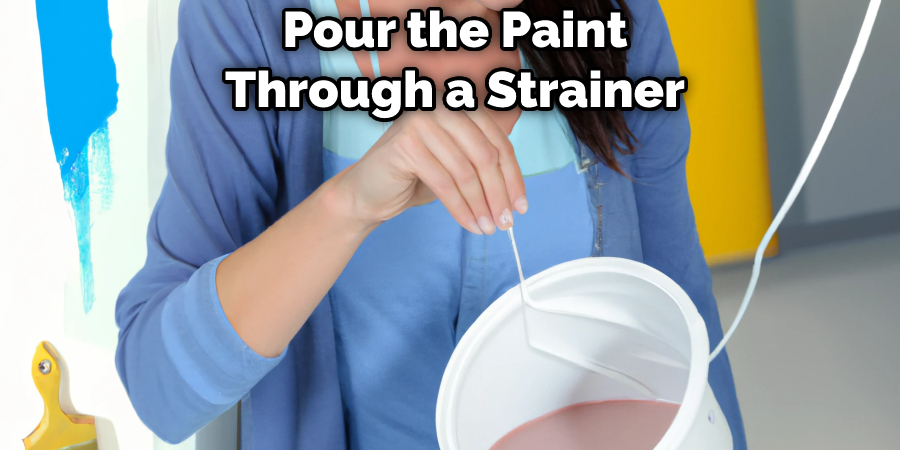
  5. Pour the paint through a strainer before you start your project. This can help remove any lumps that might still be in your paint.
  6. Let the paint sit for about 10 minutes, then strain it again before you apply it to your surface.
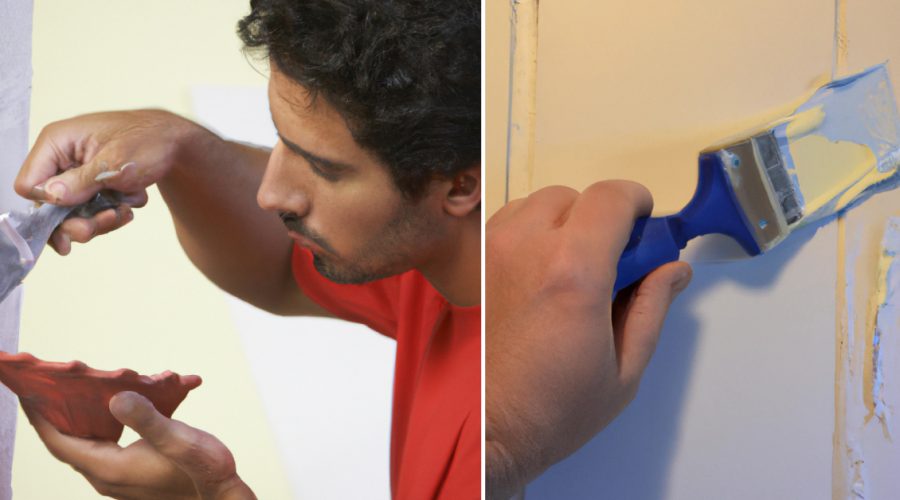
  7. Apply a primer before painting, especially if painting over an old surface or unpainted wood.
Pour the Paint Through a Strainer

Paint Strainer Methods

  1. Open the paint can.
  2. Use a paint strainer.
  3. Stir very carefully.
  4. Scrape off chunks with a paintbrush.
  5. Add a small amount of water at a time.
  6. Add an emulsion to help thin out the paint.

Re-temper Method

  1. Re-temper the existing paint.
  2. Take the paint out of storage and let it sit for a day.
  3. Strain the paint through a mesh strainer.
  4. Use a small amount of water to thin out the paint.
  5. Shake it up.

You Can Check Out to Install Heat Cable on Flat Roof

Tips for Preventing Chunky Paint

Here are some tips that you can use to prevent chunks from forming in your paint:

  • Use a paint strainer: A paint strainer is a simple tool that helps to remove any lumps or debris from your paint before you start painting. This will help to ensure a smooth, even finish.
  • Use a paint mixer: A paint mixer will help to thoroughly mix your paint, ensuring that there are no lumps or clumps.
  • Use a paint shaker: A paint shaker helps to evenly distribute the paint, making sure that there are no clumps or uneven areas.
  • Use a paint sprayer: A paint sprayer will help to evenly distribute the paint, making sure that there are no clumps or uneven areas.
  • Use a roller: A roller will help to evenly distribute the paint, making sure that there are no clumps or uneven areas.
  • Use a paint thinner: You can fix chunky paint by using a paint thinner. It will help to break up any clumps in your paint.

You Can Check Out to Paint Garage Walls

Use a Paint Thinner

FAQs about Fixing Chunky Paint

Can Chunky Paint Be Fixed?

Yes, chunky paint can be fixed in a number of ways. You can use a paint thinner to break up the clumps or add a small amount of water to thin out the paint. You can also strain the paint through a mesh strainer to remove any lumps. If your paint is still too thick, you can add an emulsion to help thin it out.

Why Does My Acrylic Paint Look Like Cottage Cheese?

Acrylic paint is often used on surfaces that will be visible, such as walls and trim. Because it is a water-based paint, acrylic paint can start to feel and look like cottage cheese after a while. This is because the water molecules start to bond with the oil and fat in the paint, forming clumps. To prevent this from happening, keep your acrylic paint in a dry place and use a water-based primer before painting.

Conclusion

If you are looking for a way to fix chunky paint, we can help. Our team of experts has years of experience in the field of home improvement and we are always happy to answer any questions about how best to fix chunky paint. Contact us today for more information on our services or fill out our contact form on the contact page!

How to Install Heat Cable on Flat Roof

Do you have a flat roof in your home? If so, If you’re looking for an easy way to warm up your home during winter, installing heat cables on your flat roof is definitely the way to go. Fortunately, it’s a simple process that can be done by anyone with little know-how. In this blog post, we’ll show you how to install heat cables on a flat roof step-by-step.

Do you have a flat roof in your home? If so, If you’re looking for an easy way to warm up your home during winter, installing heat cables on your flat roof is definitely the way to go. Fortunately, it’s a simple process that can be done by anyone with little know-how. In this blog post, we’ll show you how to install heat cables on a flat roof step-by-step.

What is Heat Cable?

A heating cable is a kind of electrical heating cable that can be used to keep things warm. It’s generally used in the home, but you can also use it to keep pipes from freezing or to warm up a vehicle. It can be installed on a flat roof or other non-porous surfaces. Heat cables are made of copper and can be covered in PVC insulation to prevent them from getting too hot.

Why Install Heat Cables on a Flat Roof?

Heat cables are thin cables that are placed on a roof. They are connected to the building’s HVAC system and can warm the building. They use electricity to produce heat. They are placed on a roof to prevent the roof from melting snow. It is a low-cost alternative to other forms of roofing heating. We will show you how to install heat cables on a flat roof.

What Kind of Heat Cable is Best for a Flat Roof?

There are two different kinds of heat cables for flat roofs.

  1. The best kind is one with a rubber coating that protects it from the elements.
  2. The second kind is one that isn’t protected and is therefore cheaper.

The first one is better because it will last longer and be more efficient. The second kind is good if you going to install heat cables in a large area. It is also good if you want to heat a lot of things at the same time. It is a great option for a greenhouse or an animal barn.

Install Heat Cables in a Large Area

10 Easy Step-by-step Guide for How to Install Heat Cables on a Flat Roof

Installing heat cables on flat roofs is not an easy task. But if you follow these instructions, then you can install the heat cables easily. It is very important that you follow all the steps correctly. Otherwise, you might damage your roof.

What You’ll Need

  • Roof Trusses
  • Roof Plate
  • Heat Cable

Let’s First Discover What Kind of Heat Cable You Have

You should first know what type of heat cables you have. If you do not know, then you can check it online. There are two different kinds of heat cables for flat roofs. The first one is better because it will last longer and be more efficient. The second kind is good if you going to install heat cables in a large area. It is also good if you want to heat a lot of things at the same time.

Inspecting & Prepare the Roof

Before you start installing heat cables on your flat roof, you need to inspect the roof to make sure it is ready. First, you will need to find out if the roof trusses are in good condition. You can do this by looking at the trusses visually or by measuring them. If the trusses are in poor condition, then you will need to replace them. If you are replacing the roof trusses, you will need to cut them to the proper size and shape.

Trusses Are in Poor Condition

Laying Out the Cable

Next, you need to lay out the cable. You will need to measure the distance between the roof trusses and the roof plate. You will also need to mark the points where you will tie the cable to the trusses and the plate. The cable should be at least twice the distance from the edge of the roof to the center.

After That, You Will Need to Cut the Heating Cable According to the Size of the Hole

Then, you should measure the length of the heating cable.

After you have measured the length of the heating cable, you will need to cut it according to the size of the hole. Make sure to leave enough slack so that you can easily connect the cable to the power source. Once the cable is cut, you will need to strip the insulation off of the ends. Be careful not to damage the wire inside.

Installing Heat Cables

Now that you have prepared the roof and laid out the cable, you are ready to install the heat cables. First, you will need to attach the cable to the trusses. You can do this by using cable ties or by screwing the cable to the trusses. Next, you will need to attach the cable to the roof plate.

Now, You Will Need to Drill Holes in the Right Place

 Make sure to wear a mask and safety glasses when doing this. You will also need to make sure that the drill bit is the right size for the cable. Once you have drilled the holes, you will need to run the cable through them. Make sure that the cable is not too tight or too loose.

Drill the Holes

Securing the Heat Cable

You will also need to ensure that the holes are big enough to hold the heating cable properly. Once you have done everything correctly, then you can start installing the heating cable. It is recommended to use a heat cable with a diameter of 1/2 inch.

Connecting the Cable to an Electrical Outlet

To install the heat cables, you will need to connect the cable to the power source. You can do this by using a splice kit or by soldering the connections. If you are using a splice kit, you will need to strip the insulation off of the wires and then crimp the connectors onto the wires. If you are soldering the connection, you will need to tin the wires and then solder them together.

Now, Test the Heat Cable

 After the cable is in place, you will need to test it to make sure it is working properly. To do this, you will need to turn on the power and touch the cable to the ground. If the cable is working properly, you will see a small spark. If you do not see a spark, then you will need to check the connections and make sure that the cable is not damaged. 

Maintaining the Heat Cable

It is important to keep the heating cable in good condition. You can do this by checking the connections and making sure that the cable is not damaged. You should also replace the cable if it starts to fray or if it starts to emit a foul smell.

If you are not using a splice kit, then you will need to strip the insulation off of the wires and then crimp the connectors onto the wires. You can also solder the connection, but this is more difficult. If you are using a splice kit, then you will need to strip the insulation off of the wires and then crimp the connectors onto the wires. You can also solder the connection, but this is more difficult.

You Can Check Out to Fix Chunky Paint

Solder the Connection

What are the drawbacks of installing heat cables on a flat roof?

There are many drawbacks to installing heat cables on a flat roof.

  • A heating cable is a system that runs the hot water through a tube that’s embedded in the roof. This system has one major drawback. The tube is only about 1.5″ wide. This means that the heat can’t be distributed very far from the tube. If you want to heat the whole roof, you’ll need a lot of heat cables.
  • Also, the heating cable can melt snow, but the melted snow may refreeze on the roof. This will cause ice to build up and this can cause serious damage to the roof, create a mess, and can even cause structural problems.
  • Heat cable is designed to keep the roof from getting too cold, and to keep it from freezing. But if the cables get wet, they can start to corrode, and they could even start a fire.
  • If the cables are improperly installed, they can melt and cause a fire hazard. Make sure you’ve got a good roof and good heat cables, and you’ll be fine.

Is Heat Cable the Only Option for a Flat Roof?

Heat cables aren’t very effective for flat roofs. Heat cable is best used on a pitched roof. And there are other options for a flat roof:

  • Ice and water shield
  • Radiant barriers and
  • Snow guards

Those will be more effective for a flat roof.

Ice and Water Shield

Frequently Asked Questions

Are Roof Heating Cables Worth It?

The short answer is yes, roof heating cables are definitely worth it – but only if you live in an area with harsh winters where your roof is constantly bombarded with snow and ice. If you live in a more temperate climate, roof heating cables may not be necessary.  That being said, roof heating cables are relatively inexpensive and easy to install, so if you’re on the fence about whether or not to get them, it may be worth it just for the peace of mind.

Can You Use Heat Tape on a Rubber Roof?

Yes, heat tape can be used on a rubber roof. Heat tape is a type of adhesive that is used to seal air leaks, cracks, and gaps. It is also used to keep a roof from freezing. Many people think that heat tape can be used on a rubber roof, but this isn’t always the case.   Heat tape is designed to stick to metal, so if the rubber roof is made of metal, the heat tape will not adhere to it. That being said, heat tape can be used on a rubber roof.

Conclusion

With a little bit of research and planning, you can install your own heat cables and ensure that they are working properly to keep your home warm throughout the winter months. We hope this article has helped give you some insight into how easy it is to install heat cables on a flat roof! Have you had your roof checked for potential leaks? Let us know how we can help you with your project! Contact us today for more information on our services or to schedule an appointment.

Scroll to top